
A few years ago, creating a polished visual meant opening a design suite, sourcing assets, and spending hours on layers and alignment. Today, many creators start with a sentence. AI image generation has moved from novelty to everyday tool, and the shift is changing how marketers, small businesses, educators, and independent creators think about visual work.
From Blank Canvas to Written Brief
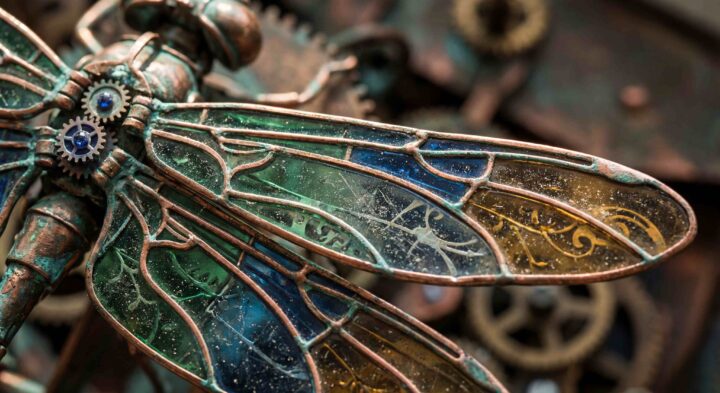
The biggest change is the starting point. Instead of dragging shapes onto an empty canvas, you describe what you want: the subject, the setting, the lighting, the mood, and the format. The model turns that brief into a first draft in seconds.
This works well because most people can explain an idea in words more easily than they can build it by hand. A café owner can describe a matcha-themed poster, a teacher can ask for a simple diagram, and a freelancer can test three thumbnail concepts before lunch.
The tool does not replace creative judgment, but it shortens the distance between an idea and something you can react to.
Google’s Nano Banana model family helped bring this style of prompt-led creation and editing into wider conversation. Curious readers often search for Nano Banana 2.5 GemPix tool when they want to see how this kind of workflow looks in practice, and it is a useful reference point for understanding how generation, editing, and export can sit in one creative space.
Getting Readable Text Inside Images

For a long time, text was the weak spot of AI images. Headlines came out warped, letters were swapped, and slogans turned into gibberish. Newer models have improved, and text-led visuals like posters, packaging concepts, ads, and infographics are now realistic use cases.
Even so, results still need careful review. A few habits help:
- Write the exact wording you want and keep it short.
- Describe hierarchy, such as a large headline with smaller supporting copy.
- Mention placement and contrast so the text stays readable against the background.
- Proofread every character before publishing.
That last point matters more than people expect. A single wrong letter on a product visual can undo the polish of the whole design, so treat generated text as a draft, not a final answer.
Editing With a Reference Image
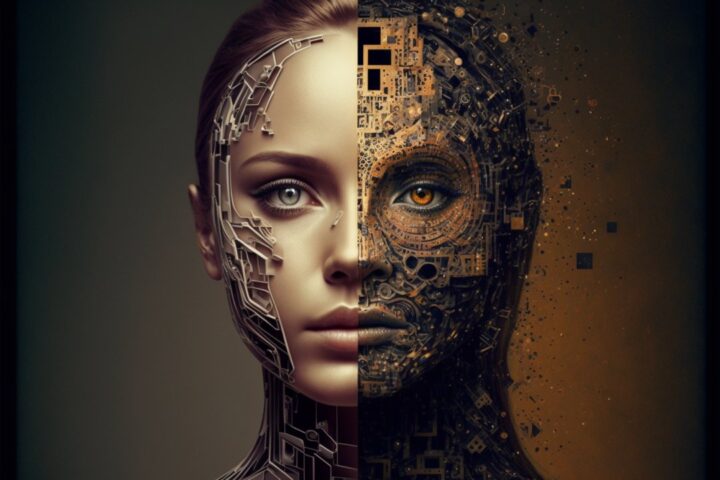
Text-to-image is only half the story. Reference-based editing, often called image-to-image, lets you upload a photo, sketch, or product shot and guide changes with a prompt. You might change the background, adjust the lighting, try a new art style, or combine elements from several sources.
The key skill here is being specific about what must stay the same. If you are editing a product photo, say so: keep the shape, the logo, and the proportions, and change only the backdrop.
If you are working with a portrait, note that the face should remain recognizable. Clear boundaries make variations easier to compare and reduce the frustration of results drifting away from the original.
Style transfer is another popular use. A regular photo can become a cartoon, a sketch, a painting, or a cinematic scene, which is handy for social content where a distinct look helps you stand out.
Writing Better Prompts
Good prompts are less about magic phrases and more about clarity. A reliable structure looks like this:
- Subject: who or what is in the image.
- Setting: where it takes place.
- Style: photographic, illustrated, minimal, retro, and so on.
- Composition: close-up, wide shot, centered subject, space for text.
- Lighting and color: soft morning light, warm tones, high contrast.
Then iterate. Your first result is rarely your best. Change one thing at a time, such as the angle, the palette, or the level of detail, so you learn what each adjustment does. Keeping a small note of prompts that worked saves a lot of time later.
Planning for the Final Channel
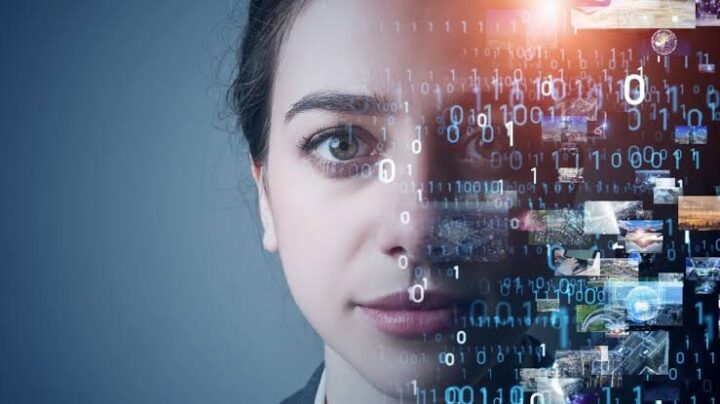
Many weak AI visuals fail not because of the image, but because of the format. A square post, a vertical story, a widescreen banner, and a print layout all need different framing. Decide the aspect ratio before you generate, leave room for headlines, and keep the subject away from edges that might get cropped.
Resolution matters too. If an image looks fine on a phone but soft on a large screen, an upscaling step can add clarity. Checking crop, negative space, and edge quality before export prevents last-minute fixes.
Using These Tools Responsibly
AI image tools are powerful, but they come with responsibilities. Be careful with images of real people, especially when editing faces or identities.
Avoid presenting generated visuals as documentary photography when they are not. If you are working for a brand, check that outputs do not accidentally imitate another company’s logo or protected style.
It also helps to stay realistic about limits. Models can misread instructions, invent odd details, or produce hands and small objects that look slightly off.
Human review remains part of every serious workflow. The best results usually come from people who treat AI as a fast collaborator rather than an autopilot.
A Practical Workflow for Small Teams
For freelancers and small teams, a simple routine keeps quality high:
- Write a short brief with the goal, audience, and channel.
- Generate several options from a written prompt.
- Pick the strongest direction and refine it with a reference or targeted edit.
- Fix text, crop, and resolution.
- Export in the right format and archive the prompt for future use.
This approach keeps decisions grounded in the final purpose, rather than in whatever the first output happened to look like.
Final Thoughts
Prompt-based image creation is no longer a curiosity. It is a practical way to move from concept to finished asset faster, whether you are designing a social post, a product mockup, or a classroom graphic. The tools will keep improving, but the fundamentals will stay the same: a clear brief, careful iteration, honest review, and respect for the people and brands involved.
Creators who learn to write good prompts and edit with intent will get the most from this technology. The tool provides speed, and the creator still provides direction.